- Login to the Customer Portal.
- Click on Services and go to My Services.
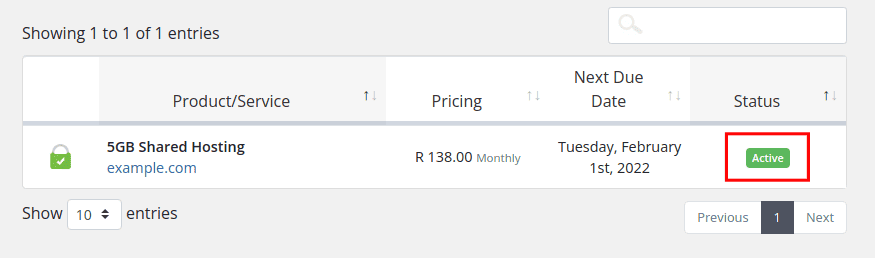
- If you registered a domain and purchased a hosting package with us, you should see it here with a Status of Active.
- Navigate to the hosting package your want to set up WordPress on and click on Active.
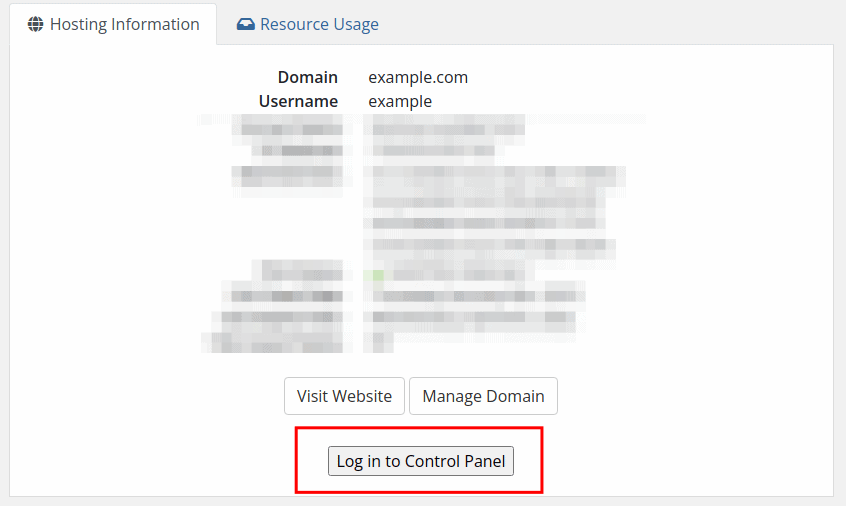
- Scroll down and click on Log in to Control Panel.
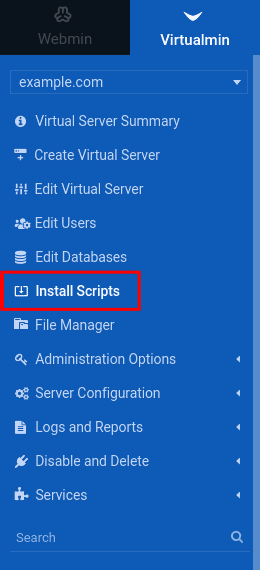
- Once logged into your Virtualmin instance click on Install Scrips.
- Click on the Scripts column to sort alphabetically and scroll down until you see the WordPress script.
- Select the WordPress script.
- Once the WordPress script is selected, click the Show Install Options button.

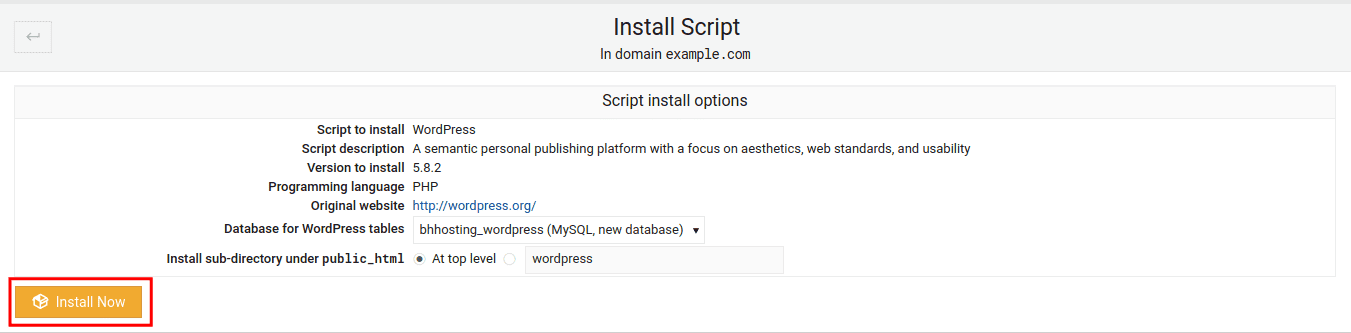
- Most of the time you would want to install WordPress At top level. Make sure it is selected at the Install sub-directory under public_html field. Otherwise, you can specify another sub-directory.
- Click Install Now.
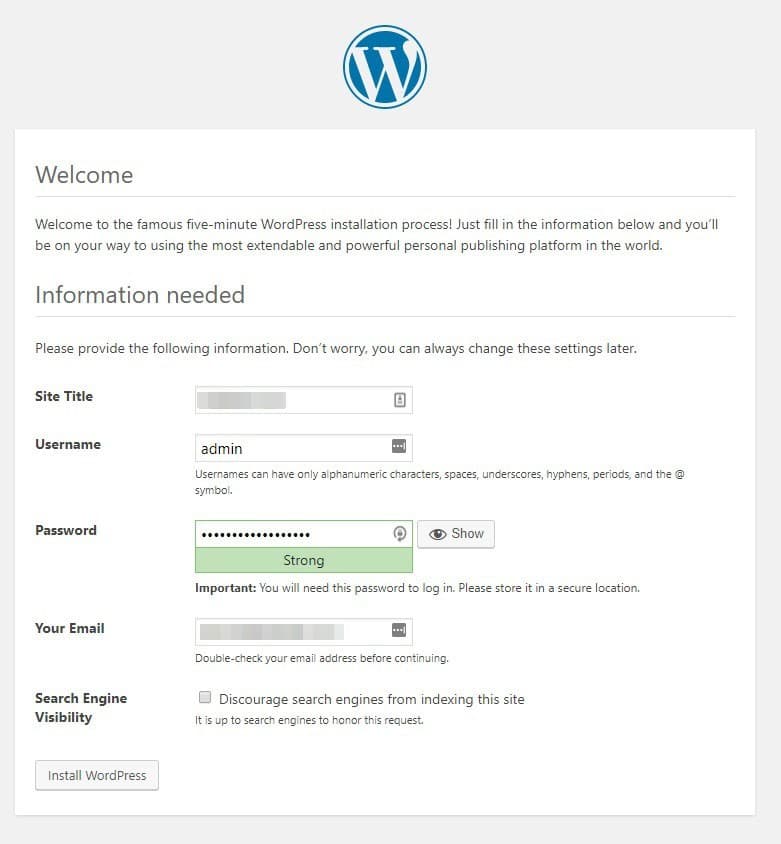
- Specify the Site Title.
- Specify your Username.
- Specify the Password. Be sure to choose something strong, you can also click the lock icon to generate a random strong password.
- Specify Your Email.
- The Search Engine Visibility field is optional, it is basically to specify to Google that they should not index your website, but it is up to them to honour this request.
- Once all the information is provided, click the Install WordPress button.
- The script will then run and you will receive a link to access WordPress once done.